
> Laboratory Techniques > PCR and DNA Amplification Methods > Conquer PCR: Eliminate Beginner Mistakes for Flawless DNA Amplification
Conquer PCR: Eliminate Beginner Mistakes for Flawless DNA Amplification
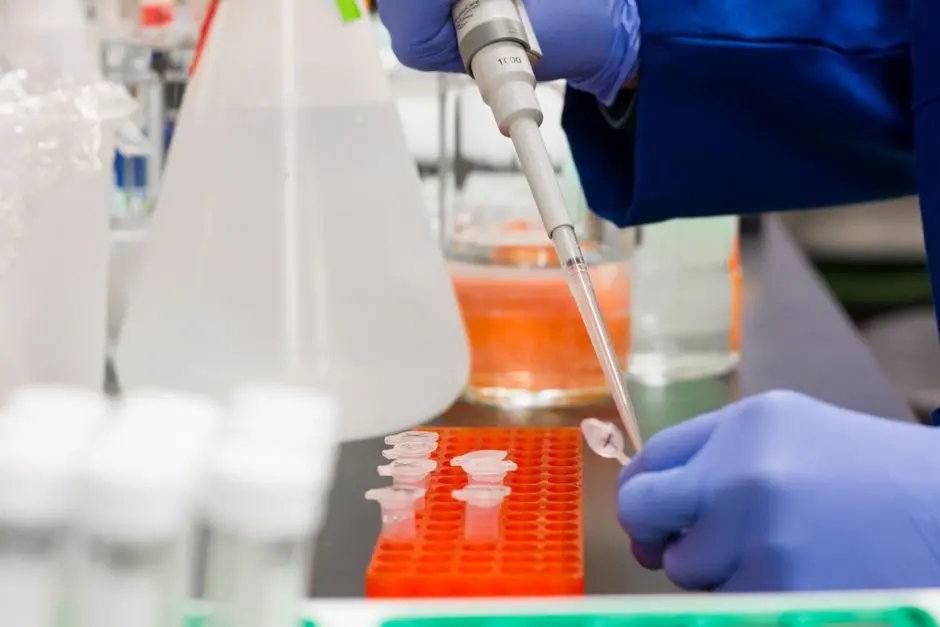
Embarking on the journey of Polymerase Chain Reaction (PCR) unleashes unparalleled power for genetic analysis, yet the path for beginners is often riddled with common pitfalls. We observe that a significant percentage of initial PCR failures—up to 70% in some novice settings—stem from a predictable set of avoidable errors. This article equips you with the strategic insights and actionable protocols necessary to navigate these challenges, transforming potential setbacks into successful amplifications.
We dissect the most prevalent mistakes made by newcomers in the lab, from subtle pipetting inaccuracies to critical thermal cycling misconfigurations. Our mission is to demystify the complexities of PCR, providing you with the expert knowledge to not just perform, but truly master this indispensable molecular technique. By proactively addressing these common issues, we empower you to achieve reliable, reproducible results from your very first experiment. Dive deep with us to understand the nuances of successful amplification, ensuring your foray into genetic analysis is built on a foundation of precision and expertise. This strategic understanding complements the advanced principles discussed in modern PCR techniques for DNA amplification and analysis, laying the groundwork for more sophisticated applications.

Navigating Contamination: The Silent PCR Saboteur
Contamination stands as the premier antagonist to successful PCR, capable of derailing an entire experiment before it even truly begins. We confront this menace by adopting a multi-pronged defensive strategy. The most insidious forms of contamination include carryover DNA from previous PCR products, extraneous genomic DNA, and airborne particulates. A single stray amplicon can lead to false positives, consuming reagents and time without yielding meaningful data.
To effectively combat this, we implement rigorous aseptic techniques. Dedicate separate workstations for pre-PCR reagent preparation, DNA template addition, and post-PCR analysis. Utilize positive displacement pipettes or barrier tips to prevent aerosol cross-contamination. Sterilize all equipment, including pipettes, racks, and reaction tubes, with UV light or a 10% bleach solution, followed by meticulous rinsing. We maintain separate sets of reagents—primers, dNTPs, polymerase, and buffers—specifically for PCR, storing them away from high-concentration DNA stocks. Furthermore, the inclusion of appropriate controls is non-negotiable. A no-template control (NTC), containing all PCR reagents except the DNA template, directly reveals contamination in your master mix or environment. Observing amplification in an NTC mandates a thorough re-evaluation of your entire setup and reagent purity. We ensure that every step, from workbench decontamination to reagent aliquoting, minimizes the risk of introducing unwanted nucleic acids, thereby safeguarding the integrity of our results and optimizing our experimental efficiency.
Optimizing Reagent Ratios: The Precision of the PCR Recipe
The success of any PCR hinges on the precise stoichiometry of its core reagents. Treat your PCR mix as a meticulously balanced biochemical recipe; any deviation in concentration can dramatically impact specificity, yield, and overall efficiency. Beginners often underestimate the critical roles played by dNTPs, MgCl2, Taq polymerase, and primers.
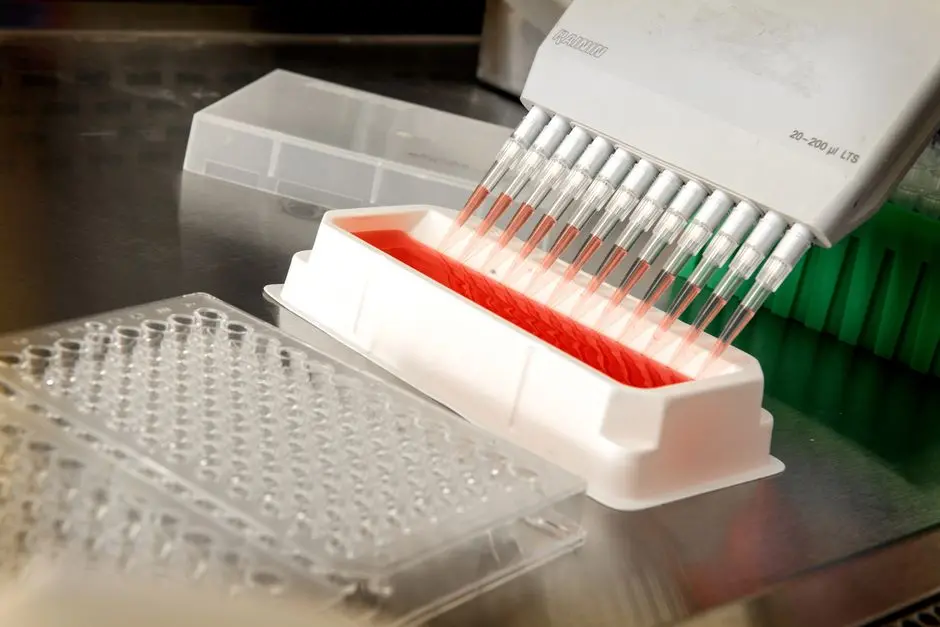
Let's dissect these components: dNTPs (deoxyribonucleotide triphosphates) serve as the building blocks for DNA synthesis. While insufficient dNTPs will limit amplification, an excessive amount can inhibit Taq polymerase activity or lead to misincorporations. We typically aim for a final concentration of 0.2 mM for each dNTP. Magnesium chloride (MgCl2) acts as a crucial cofactor for Taq polymerase. Its concentration is paramount: too little MgCl2 reduces enzyme activity and yield, while too much increases non-specific amplification and primer-dimer formation. Optimal MgCl2 concentrations often range from 1.5 mM to 2.5 mM, but we emphasize that fine-tuning is frequently required based on the specific template and primer set. Taq polymerase concentration directly influences reaction speed and efficiency; over-titration can paradoxically lead to increased non-specific products. Finally, primers, typically used at 0.1–1.0 µM each, must be present in optimal ratios to the template and each other to prevent competition and the formation of undesirable primer-dimers. We stress the importance of using freshly prepared aliquots of reagents, performing careful calculations, and executing precise pipetting with calibrated instruments. Slight variations can compound, undermining the reliability of your amplification. We must meticulously control these parameters to forge robust and reproducible PCR outcomes.
Thermal Cycling Program: Orchestrating DNA's Amplification Symphony
The thermal cycler acts as the conductor of our PCR symphony, and an inadequately programmed cycle can turn a potential masterpiece into cacophony. Novices frequently encounter issues stemming from incorrect temperatures and durations during the denaturation, annealing, and extension phases. Each parameter must be precisely set to facilitate optimal enzyme activity and DNA strand interactions.
Denaturation is the initial step, where high heat (typically 94–98°C for 15–30 seconds) separates the double-stranded DNA template. Incomplete denaturation means the primers cannot bind, leading to no amplification. Conversely, excessively long denaturation times can degrade the Taq polymerase, especially in the initial phase. The annealing temperature (Ta) is arguably the most critical parameter for specificity. It dictates the temperature at which primers bind to their complementary sequences on the denatured DNA. Too high a Ta prevents primer binding (low yield), while too low a Ta promotes non-specific binding and primer-dimer formation. We calculate Ta based on primer length and GC content (e.g., using the formula: Ta = 2(A+T) + 4(G+C) - 5°C, or more sophisticated online tools), and often optimize it using a gradient PCR block, typically starting 5°C below the calculated melting temperature (Tm) of the primers. Extension, usually performed at 72°C, allows Taq polymerase to synthesize new DNA strands. The duration depends on the amplicon length, with a general rule of approximately 1 minute per kilobase (kb) of DNA. We also include an initial denaturation step (e.g., 95°C for 2–5 minutes) to ensure complete melting of complex genomic DNA and enzyme activation, and a final extension (e.g., 72°C for 5–10 minutes) to ensure all fragments are fully elongated. Precise programming ensures each stage functions optimally, driving efficient and specific amplification.
Template DNA Quality and Quantity: The Foundation of Reliable Results
The integrity and purity of your template DNA form the bedrock of successful PCR. We often find beginners overlooking the critical pre-PCR assessment of their starting material, leading to frustration when reactions fail. A compromised template DNA, whether degraded or inhibited, cannot yield reliable amplification, regardless of how perfectly the other reaction parameters are set.
DNA Quantity: Too little template means no amplification or faint bands, while too much can lead to non-specific binding, background smearing, or even inhibition due to carryover contaminants. We typically aim for nanogram quantities for genomic DNA (e.g., 50-200 ng) and picogram quantities for plasmid DNA (e.g., 1-10 ng). We quantify DNA using a spectrophotometer (e.g., NanoDrop) to measure absorbance at 260 nm. DNA Purity: Contaminants commonly co-purified with DNA, such as proteins, salts (EDTA, guanidinium), phenolics, and polysaccharides, can directly inhibit Taq polymerase activity. We assess purity using absorbance ratios: A260/A280 should ideally be 1.8–2.0, indicating minimal protein contamination; A260/A230 should be 2.0–2.2, reflecting minimal organic compound contamination. Ratios significantly outside these ranges signal potential inhibition. For instance, a low A260/A230 ratio (<1.8) often points to residual guanidine salts or phenol. DNA Integrity: Degraded DNA, visible as a smear rather than a distinct band on an agarose gel, means your target sequence may be fragmented, hindering amplification. We always run a small aliquot of template DNA on an agarose gel to visually inspect its integrity before committing to PCR. By rigorously validating template quality and quantity, we lay a robust foundation for consistent and dependable PCR results.
Post-PCR Analysis Pitfalls: Interpreting and Validating Your Data
After successfully completing the thermal cycling, the final hurdle for beginners lies in the accurate interpretation and validation of PCR products. Misinterpreting results from gel electrophoresis or overlooking crucial controls can lead to erroneous conclusions, negating all the careful work preceding it. We must approach post-PCR analysis with the same critical eye applied to the reaction setup.
Agarose Gel Electrophoresis: This is our primary tool for visualizing PCR products. Common beginner mistakes include incorrect gel concentration (leading to poor resolution), insufficient loading of DNA ladder (making size estimation difficult), and improper voltage or run time (resulting in diffuse bands or product loss). We meticulously prepare our gels, ensuring appropriate agarose percentage for the expected amplicon size (e.g., 1.5-2% for <500 bp, 0.8-1% for >1 kb). We always include a well-defined DNA ladder to accurately determine amplicon size. Interpretation of Results: We look for a single, distinct band of the expected size. Multiple bands could indicate non-specific amplification or primer issues. Smearing suggests DNA degradation or excessive template. Absence of a band in a positive control indicates a fundamental problem with the PCR, while a band in the no-template control reveals contamination. Controls are paramount: A positive control (template DNA known to amplify) confirms the PCR reagents and conditions are functional. A negative control (no template or non-target template) verifies specificity and absence of contamination. Without these controls, any observed amplification is largely uninterpretable. We demand reproducibility: consistently obtaining the expected result across replicate experiments solidifies our confidence in the data. By mastering the art of post-PCR analysis, we close the loop on our experimental design, ensuring our findings are robust and scientifically sound.
Key Takeaways
Combat Contamination Relentlessly
Strategic Setup: Designate separate areas for pre-PCR, template addition, and post-PCR activities. Aseptic Practices: Utilize barrier tips, sterile reagents, and regular UV/bleach decontamination. Essential Control: Always include a no-template control (NTC) to immediately flag any contamination in reagents or environment. Successful NTC (no amplification) is non-negotiable for valid results.
Master Reagent Stoichiometry
Precision Pipetting: Ensure accurate measurement of dNTPs, MgCl2, Taq polymerase, and primers using calibrated pipettes. Mg2+ Balance: Optimize MgCl2 concentration (typically 1.5-2.5 mM); too little reduces yield, too much boosts non-specificity. Fresh Aliquots: Use freshly prepared aliquots of reagents to prevent degradation and concentration shifts, ensuring consistent enzyme activity and synthesis efficiency.
Optimize Thermal Cycling Parameters
Denaturation: Ensure sufficient time (15-30s) at high temperature (94-98°C) for complete DNA strand separation without enzyme degradation. Annealing Temperature (Ta): Crucial for specificity; optimize with gradient PCR, starting 5°C below the lowest primer Tm. Extension: Set time based on amplicon length (approx. 1 min/kb) at 72°C. Include initial denaturation and final extension steps for robustness.
Validate Template DNA Quality and Quantity
Quality Check: Assess DNA purity via A260/A280 (1.8-2.0) and A260/A230 (2.0-2.2) ratios. Inhibitory contaminants skew these values. Integrity Assessment: Visualize DNA on an agarose gel; distinct bands (not smears) confirm integrity. Optimal Quantity: Use appropriate template amounts (ng for genomic, pg for plasmid); too much or too little impacts amplification and specificity. Degraded or inhibited DNA invalidates the entire reaction.
Rigorously Interpret Post-PCR Results
Gel Electrophoresis: Select correct agarose percentage for amplicon size and include a reliable DNA ladder. Band Analysis: Aim for a single band of expected size. Multiple bands or smears indicate non-specificity or degradation. Crucial Controls: Always include positive (known amplification) and negative/no-template controls (contamination/specificity check) for unambiguous data validation. Reproducibility across experiments confirms findings.
FAQ
-
What is the most common reason for PCR failure for beginners?
The single most frequent cause of PCR failure for beginners is contamination. This can manifest as carryover DNA from previous PCR products, environmental DNA, or impurities in reagents, leading to non-specific amplification or false positives. Implementing strict aseptic techniques, dedicated workstations, and appropriate controls (like no-template controls) are essential to mitigate this risk.
-
How do I determine the correct annealing temperature for my primers?
The annealing temperature (Ta) is critical for PCR specificity. We typically calculate the melting temperature (Tm) of our primers using online calculators or software, which often use formulas like Wallace Rule (Ta = 2(A+T) + 4(G+C)). We then start the annealing temperature optimization 5°C below the lowest primer Tm. A gradient PCR block allows us to test a range of temperatures simultaneously to find the optimal Ta that yields the most specific product with minimal non-specific bands.
-
My PCR yields faint or no bands; what should I check first?
When encountering faint or no bands, we systematically check several parameters. First, verify the quality and quantity of your template DNA (degradation or inhibition). Next, ensure reagent concentrations are correct and freshly prepared, particularly MgCl2 and Taq polymerase. Finally, optimize your thermal cycling conditions, focusing on sufficient denaturation time and an appropriate annealing temperature (Ta). We also confirm that our primers are not degraded and are designed correctly.
-
How can I prevent primer-dimer formation?
Primer-dimers occur when primers bind to each other and get amplified, consuming reagents and reducing target product yield. We prevent this by ensuring proper primer design (avoiding self-complementarity), using optimal annealing temperatures (usually higher to favor specific binding), and balancing primer concentration (lower concentrations can reduce dimer formation). Employing a hot-start Taq polymerase is also highly effective, as it prevents enzyme activity until the denaturation step, inhibiting non-specific binding at lower temperatures.
-
What are the essential controls for a PCR experiment?
Every PCR experiment requires critical controls for valid interpretation. We always include a no-template control (NTC), which contains all reagents except the template DNA, to detect contamination. A positive control, with a known template that successfully amplifies, confirms that all reagents and conditions are functional. We might also include a negative template control (e.g., DNA from a non-target organism) to confirm assay specificity and rule out cross-reactivity.