
> Laboratory Techniques > PCR and DNA Amplification Methods > Initiate PCR Success: Beginner's Lab Protocol
Initiate PCR Success: Beginner's Lab Protocol
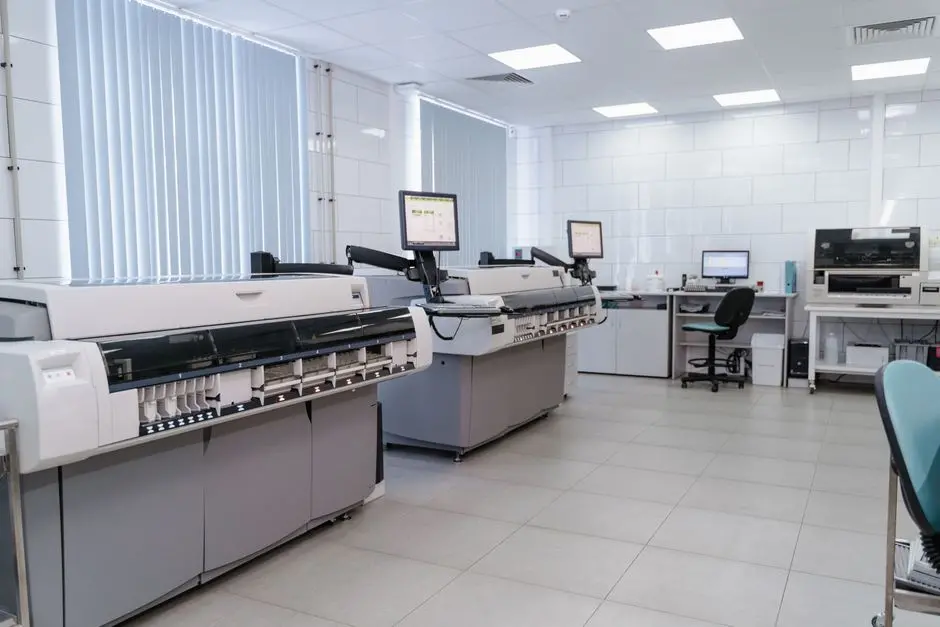
Unlock the transformative power of molecular biology as we delve into the core technique that revolutionized genetic analysis: Polymerase Chain Reaction (PCR). From diagnostics to genetic engineering, PCR stands as an indispensable tool, yet its initial setup often presents a formidable challenge for newcomers. This comprehensive guide dismantles the complexities, providing a meticulously structured roadmap for your inaugural PCR experiment.
We forge a path to practical mastery, illuminating each critical step with surgical precision – from understanding reagent roles to programming your thermal cycler and troubleshooting common pitfalls. Grasping these foundational elements is not merely about executing a protocol; it's about building an unshakeable base for all future molecular endeavors. Prepare to elevate your laboratory acumen, confidently navigating the initial hurdles. This article empowers you to confidently transition from theoretical knowledge to practical execution, a vital step before exploring more advanced applications and intricacies, such as those presented in the realm of modern PCR techniques for DNA amplification and analysis. We equip you with the insights to confidently amplify your target DNA, ensuring robust and reproducible results right from your very first attempt.
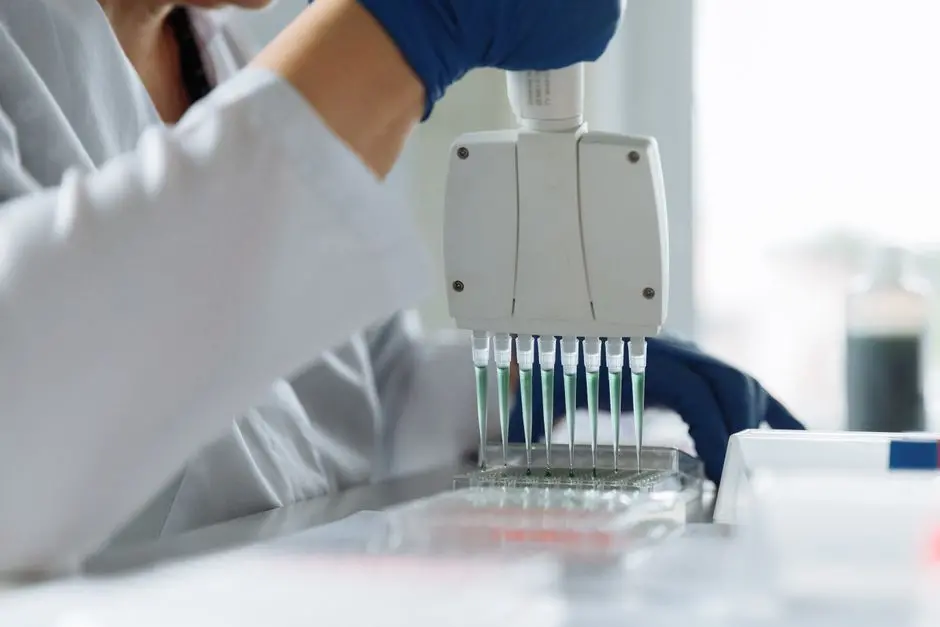
Deconstruct PCR's Core Mission: The Molecular Blueprint
We initiate our journey by deconstructing the fundamental mission of PCR: the selective amplification of a specific DNA segment. At its essence, PCR is an in vitro method that generates millions to billions of copies of a particular DNA sequence through a series of temperature-dependent reactions. This molecular blueprint begins with the judicious selection of your target DNA, the very template we aim to amplify. Understanding the integrity and purity of this template is paramount; contamination or degradation can sabotage an experiment before it even commences. We rigorously prioritize samples demonstrating high purity, typically with A260/A280 ratios between 1.8 and 2.0.
The reaction itself hinges on a few core components, each playing a critical, non-negotiable role. These include the DNA template, two oligonucleotide primers (forward and reverse) that flank the target region, deoxynucleotide triphosphates (dNTPs) as the building blocks, a heat-stable DNA polymerase (most commonly Taq polymerase), a reaction buffer to maintain optimal pH and ionic strength, and nuclease-free water to achieve the final reaction volume. We confirm the correct functioning of each component by meticulously validating their quality and concentration before integration into the master mix. This foundational understanding and meticulous preparation establish the bedrock for reproducible success in all subsequent steps.
Orchestrating Your Reagents: The PCR Master Mix
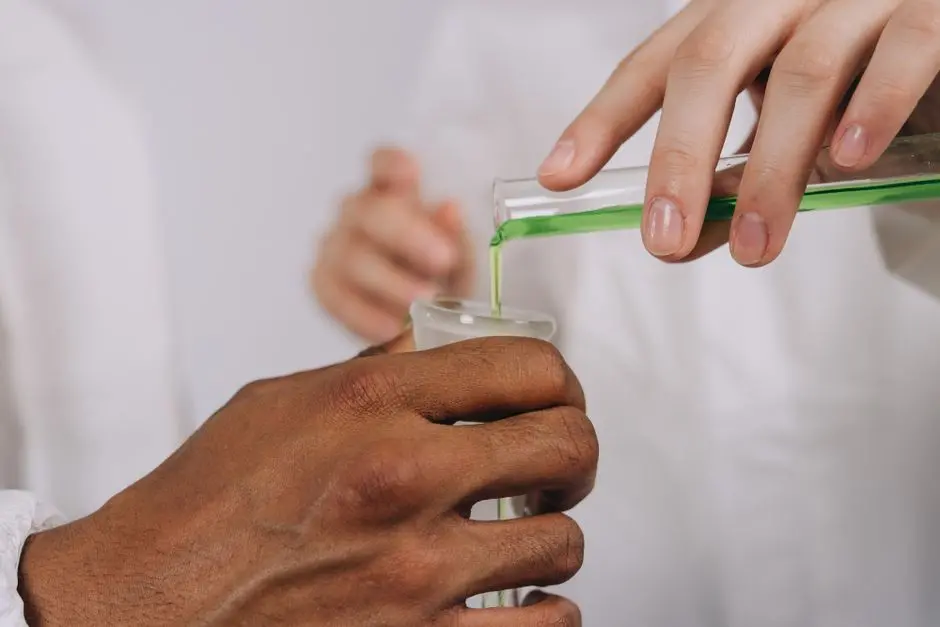
We now transition to the strategic orchestration of our reagents: the meticulous preparation of the PCR master mix. This critical step ensures uniformity across all reaction tubes, minimizing pipetting errors and enhancing reproducibility. The master mix typically comprises nuclease-free water, reaction buffer, dNTPs, forward primer, reverse primer, and Taq polymerase. We prepare this mixture in a single, larger volume before aliquotting into individual reaction tubes, which already contain the respective DNA templates. This method drastically reduces tube-to-tube variability and saves significant time, especially for high-throughput experiments.
Optimal concentrations are not arbitrary; they are the bedrock of efficient amplification. We typically aim for a final concentration of 0.2-0.5 µM for each primer, ensuring efficient binding without promoting non-specific amplification. dNTPs usually fall within the 200 µM range. Taq polymerase activity is often expressed in units, with 0.5-2.5 units per 50 µL reaction being a common starting point, although specific enzyme activity varies by manufacturer. The reaction buffer, supplied with the enzyme, provides optimal conditions for polymerase activity, including MgCl2, which acts as a crucial cofactor. We rigorously calculate the exact volumes for each component based on the total number of reactions plus a slight excess (e.g., 5-10%) to account for pipetting losses. Precision in these calculations and pipetting techniques directly correlates with successful amplification.
Crafting the Thermal Cycling Program: Precision in Action
We sculpt the thermal cycling program with surgical precision, defining the three distinct temperature phases that drive DNA amplification. This program, input into your thermocycler, dictates the pace and efficiency of your reaction. Each phase possesses a specific temperature and duration, optimized for the biochemical reactions occurring at that stage. The initial denaturation step typically involves heating the reaction to 95-98°C for 2-5 minutes. This ensures complete denaturation of the double-stranded DNA template, preparing it for primer binding, and simultaneously activates some hot-start polymerases.
Following this, we commence the cycling phase, typically repeated 25-35 times. Each cycle consists of: Denaturation (95-98°C for 15-30 seconds) to separate DNA strands; Annealing (50-65°C for 15-30 seconds) where primers bind to their complementary sequences on the single-stranded DNA template, with the exact temperature being critical and often optimized via a temperature gradient; and Extension (70-72°C for 15-60 seconds) where Taq polymerase synthesizes new DNA strands. The extension time is proportional to the amplicon length, typically 1 minute per 1 kb. A final extension step (70-72°C for 5-10 minutes) ensures all remaining single-stranded products are fully extended. We store the samples at 4°C after the run to prevent degradation. Meticulous optimization of these parameters is not optional; it is the direct pathway to achieving high yields of specific product.
Executing the Setup: Meticulous Lab Practices
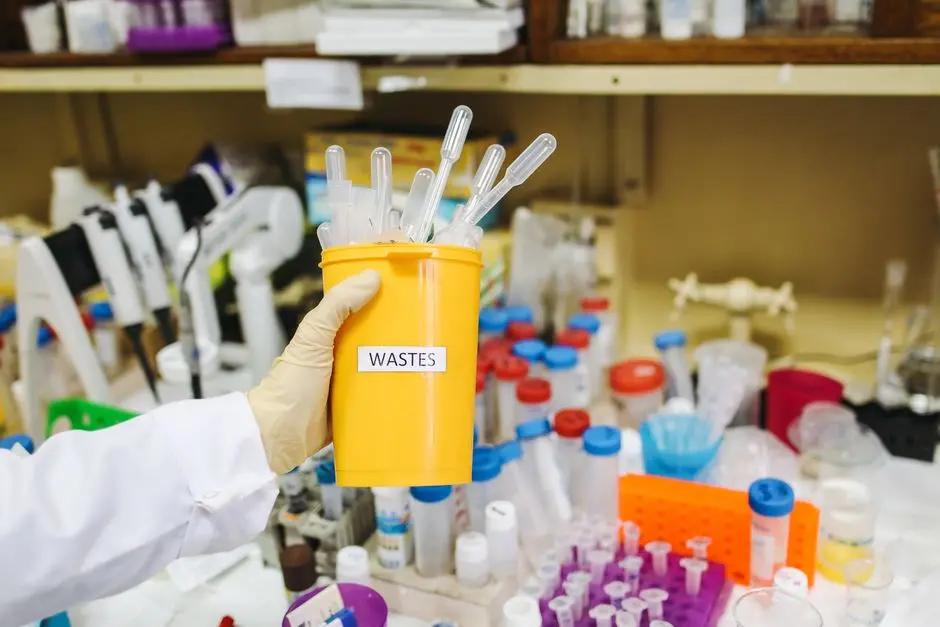
We execute the setup with unwavering adherence to meticulous laboratory practices, recognizing that contamination poses the single greatest threat to PCR success. DNA amplification is incredibly sensitive; even minute quantities of extraneous DNA can lead to false positives or non-specific amplification. We establish dedicated pre-PCR and post-PCR areas, employing separate sets of pipettes, reagents, and lab coats to prevent carryover contamination. Always use sterile, nuclease-free consumables (tubes, tips, water) and regularly decontaminate work surfaces with a 10% bleach solution, followed by 70% ethanol, and UV irradiation if available.
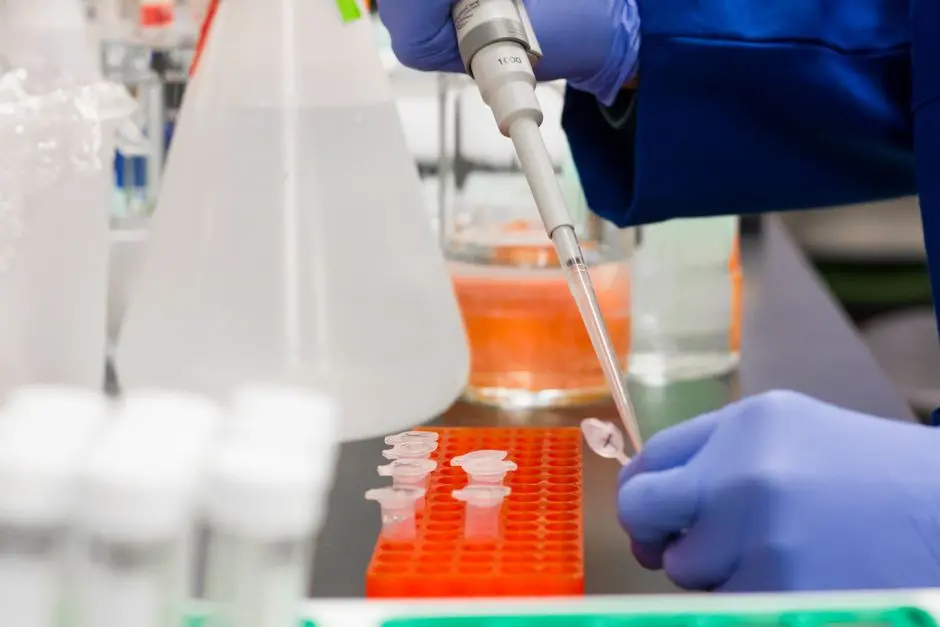
The sequence of reagent addition is also critical. We invariably add nuclease-free water first, followed by the reaction buffer, dNTPs, primers, and finally, the Taq polymerase. The DNA template is added last, in individual tubes, to the aliquoted master mix. This order minimizes potential degradation of the enzyme by other components and ensures proper mixing. We employ forward pipetting, ensuring accurate volume transfer, and diligently change pipette tips between each reagent addition to prevent cross-contamination. Always include both a positive control (template DNA known to amplify) and a negative control (no template DNA, replaced by water) in every experiment. The negative control is vital; it validates the absence of contamination in your reagents and setup. A systematic approach to these practices forms an impenetrable barrier against experimental failure.
Troubleshooting Initial Setups & Beyond: Refining Your Protocol
We confront the inevitable challenges of initial PCR setups with a proactive, systematic troubleshooting approach, refining your protocol for optimal performance. Beginners frequently encounter issues such as the absence of an amplicon band, faint bands, or the appearance of non-specific bands and primer dimers. The absence of a band (no amplification) often points to issues with template quality or quantity, primer design (e.g., high secondary structure), annealing temperature being too high, or a critical reagent omission/degradation. We re-verify template concentration, test new primer batches, and consider a lower annealing temperature or a longer extension time.
Faint bands suggest suboptimal reaction conditions. Here, we optimize primer and MgCl2 concentrations (often by conducting a gradient PCR for annealing temperature and MgCl2). We also assess the quality of the Taq polymerase and dNTPs, ensuring they are not degraded. Non-specific bands, which are amplicons other than your target, usually indicate an annealing temperature that is too low, allowing primers to bind promiscuously, or excessive primer concentration. We elevate the annealing temperature in 2°C increments or reduce primer concentration. Primer dimers, small bands typically <50 bp, arise from primers binding to each other and amplifying. This is usually resolved by increasing the annealing temperature, optimizing primer design, or reducing primer concentration. We document every adjustment and its outcome, building a robust repository of empirical data to inform future experiments and solidify our expertise.
Key Takeaways
Mastering PCR Fundamentals
PCR is an in vitro method to amplify specific DNA sequences. Core components include DNA template, primers, dNTPs, Taq polymerase, reaction buffer, and nuclease-free water. We prioritize high-purity DNA templates (A260/A280 between 1.8-2.0).
Strategic Master Mix Preparation
Prepare a single master mix with water, buffer, dNTPs, primers, and Taq polymerase. Aliquot into individual tubes containing DNA template. We aim for 0.2-0.5 µM primers, 200 µM dNTPs, and 0.5-2.5 units Taq per 50 µL reaction. Calculate volumes with a 5-10% excess.
Precision Thermal Cycling
Thermal cycling involves: 1. Initial Denaturation (95-98°C for 2-5 min). 2. 25-35 cycles of Denaturation (95-98°C, 15-30 sec), Annealing (50-65°C, 15-30 sec), Extension (70-72°C, 1 min/kb). 3. Final Extension (70-72°C for 5-10 min). Store at 4°C.
Rigorous Lab Practices
Prevent contamination by using dedicated pre-PCR/post-PCR areas, separate pipettes, sterile consumables, and thorough surface decontamination. We add reagents in order: water, buffer, dNTPs, primers, Taq, then template. Include positive and negative controls.
Systematic Troubleshooting
No band: Check template, primers, annealing temp, reagent integrity. Faint band: Optimize primer/MgCl2 concentration, check enzyme quality. Non-specific bands: Increase annealing temp, reduce primer conc. Primer dimers: Increase annealing temp, optimize primer design, reduce primer conc. Document all adjustments.
FAQ
-
What is the most critical step to prevent contamination in a PCR experiment?
The most critical step is maintaining strict spatial separation between pre-PCR (reagent preparation, template addition) and post-PCR (gel electrophoresis, product analysis) activities. We use dedicated sets of pipettes, lab coats, and ideally, separate rooms or biosafety cabinets for each stage. Regularly cleaning work surfaces with bleach and UV irradiation further minimizes contamination risk.
-
How do I determine the optimal annealing temperature for my primers?
We determine the optimal annealing temperature using a temperature gradient PCR. Set up several reactions with varying annealing temperatures, typically spanning 5°C below the calculated primer Tm to 5°C above. The temperature yielding the strongest specific band with minimal non-specific products is the optimal choice. Online tools can calculate theoretical Tm values, providing a strong starting point.
-
Why is it important to use nuclease-free water and reagents in PCR?
Nuclease-free water and reagents are absolutely essential because nucleases (DNases and RNases) degrade nucleic acids. If present, they will degrade your DNA template or primers, leading to no amplification or very poor yields. We eliminate all potential sources of nuclease contamination to ensure the integrity of our molecular components and the success of our reaction.