
> Laboratory Techniques > Microscopy and Cellular Imaging > Forge Excellence: Fluorescence Sample Preparation Protocols
Forge Excellence: Fluorescence Sample Preparation Protocols
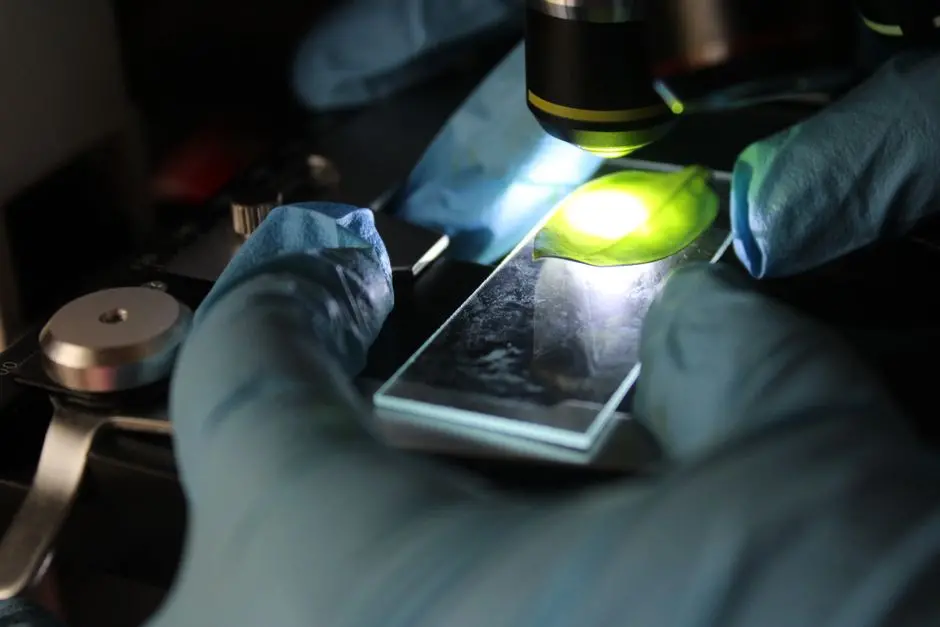
Unlock the full potential of cellular imaging. Fluorescence microscopy is not just a technique; it's a window into vital processes, a bold exploration into biological mysteries that propels scientific discovery. Yet, the brilliance of its revelations is directly proportional to the meticulousness of your sample preparation. One imperfect step, and it's signal integrity, spatial resolution, and accurate quantification that crumble, transforming a breakthrough opportunity into ambiguous data.
We are here to demystify this critical process. This article is your surgical roadmap, an indispensable resource for anyone aspiring to achieve impeccable fluorescence images. We dissect common pitfalls, share proven strategies, and explore optimized protocols that ensure the robustness of your data. Prepare to transform your samples into masterpieces of clarity and specificity, building upon the foundations laid by best practices in laboratory imaging methods for biological structures. We are forging you into an expert, capable of overcoming the most complex sample preparation challenges. Master these techniques, and pave the way for impactful discoveries.
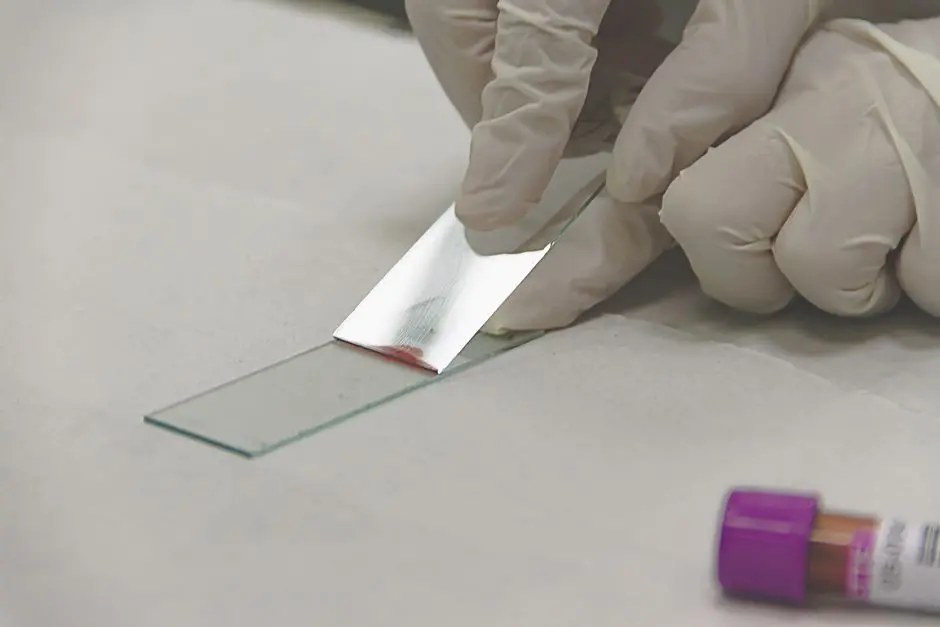
Unveiling the Microcosmos: Critical First Steps in Fluorescence Sample Preparation
The quest for illuminating cellular processes with fluorescence microscopy commences long before an objective lens touches the coverslip. Our initial steps in sample preparation dictate the very quality and interpretability of the acquired data. We must recognize that every biological specimen—from fixed tissue sections to live cell cultures—presents unique challenges and demands tailored strategies. The core objective remains consistent: preserve cellular morphology and molecular integrity while ensuring optimal fluorophore accessibility and signal retention. Neglecting these foundational principles inevitably leads to compromised images, characterized by poor signal-to-noise ratios, autofluorescence, or artifactual labeling.
We initiate this process by selecting the appropriate specimen type. Are we investigating fixed cells, live cells, whole organisms, or intricate tissue biopsies? Each choice necessitates a distinct preparatory pathway. For instance, live-cell imaging prioritizes physiological relevance, demanding minimal perturbation and precise environmental control. Fixed samples, conversely, allow for rigorous multi-labeling strategies and long-term storage, but at the cost of capturing dynamic events. We carefully consider the target molecules: are they surface receptors, cytosolic proteins, nuclear components, or extracellular matrix elements? This specificity guides our choice of fixation, permeabilization, and labeling reagents, ensuring our fluorophores reach their intended destinations without causing structural damage or non-specific binding. This meticulous planning is not merely a recommendation; it is a prerequisite for generating high-impact, publishable fluorescence data. Forge the foundation correctly, and the subsequent imaging process becomes a precision operation, yielding insights that truly advance our biological understanding.
Precision Fixation: Anchoring Cellular Architecture for Imaging Excellence
Fixation stands as the cornerstone of most fluorescence microscopy workflows, serving to halt cellular processes, preserve structural integrity, and make cells amenable to subsequent staining procedures. We confront two primary fixation strategies: chemical and physical. Chemical fixation typically employs cross-linking agents like paraformaldehyde (PFA) or precipitating agents such as methanol or acetone. PFA, at concentrations ranging from 2% to 4%, is widely favored for its ability to cross-link proteins, maintaining antigenicity and fine structural details, making it ideal for immunohistochemistry. We standardize incubation times, typically 10-20 minutes at room temperature, to achieve adequate fixation without over-fixing, which can mask epitopes.
Conversely, methanol or acetone fixation (e.g., 5-10 minutes at -20°C) is excellent for preserving cytoskeletal structures but can extract lipids and denature proteins, potentially altering antigenicity for some targets. We must weigh these trade-offs carefully. Physical fixation, primarily cryofixation via plunge freezing or high-pressure freezing, offers rapid immobilization that minimizes artifact formation and preserves ultrastructure with exceptional fidelity. While more complex and expensive, cryofixation is indispensable for electron microscopy and certain super-resolution fluorescence techniques where molecular relocation must be strictly avoided. We rigorously optimize fixation parameters for each cell type and target protein, as variations in concentration, temperature, and duration profoundly impact imaging outcomes. A poorly fixed sample compromises all subsequent steps, leading to structural distortions, epitope loss, or excessive background. We proactively test and refine our fixation protocols to ensure our cellular canvases are perfectly prepared for molecular illumination.
Permeabilization and Blocking: Crafting Access to Intracellular Targets
Once fixation secures cellular architecture, the next critical phase involves permeabilization and blocking. Permeabilization is the strategic process of creating pores in cellular membranes, granting antibodies and other labeling reagents access to intracellular targets. We primarily utilize detergents for this purpose. Triton X-100 (0.1-0.5% for 5-10 minutes) is a common choice, highly effective for permeabilizing plasma and nuclear membranes, suitable for most intracellular protein targets. Its strong action, however, can sometimes extract soluble proteins or damage fine membrane structures, requiring careful optimization.
For more delicate structures or when preserving lipid rafts is crucial, we might opt for milder detergents like Saponin (0.05-0.2% for 15-30 minutes), which creates transient pores in cholesterol-rich membranes, or Digitonin, known for its ability to selectively permeabilize the plasma membrane while leaving intracellular membranes largely intact. We tailor our detergent choice and concentration to the specific target and its subcellular localization. Following permeabilization, blocking is non-negotiable. This step saturates non-specific binding sites on the sample, dramatically reducing background fluorescence. We commonly employ solutions containing 1-5% bovine serum albumin (BSA), normal serum from the host species of the secondary antibody (e.g., normal goat serum for anti-mouse secondary), or gelatin. An adequate blocking period, typically 30-60 minutes at room temperature, prevents our precious antibodies from adhering indiscriminately, thereby maximizing signal specificity and enhancing the signal-to-noise ratio. We forge a meticulous approach to these steps, as they directly dictate the clarity and precision of our molecular mapping.
Immunostaining & Fluorophore Selection: Pinpointing Molecular Markers
The heart of fluorescence microscopy lies in its ability to specifically pinpoint molecular targets through immunostaining. We employ two primary strategies: direct and indirect immunostaining. In direct staining, the primary antibody is directly conjugated to a fluorophore. This method offers simplicity and reduces protocol length but is less sensitive due to fewer fluorophores per target and limits multiplexing options if custom conjugated primaries are not available. Conversely, indirect immunostaining is our go-to for heightened sensitivity and flexibility. Here, an unconjugated primary antibody binds to the target, followed by a fluorophore-conjugated secondary antibody that recognizes the primary. Signal amplification is a key advantage, as multiple secondary antibodies can bind to a single primary antibody, boosting fluorescence intensity.
Our selection of fluorophores is a strategic decision. We consider their excitation and emission spectra to minimize spectral overlap during multiplexing (labeling multiple targets simultaneously). Factors like photostability (resistance to photobleaching), brightness, and environmental sensitivity (pH, oxygen) are paramount. Common choices include Alexa Fluor dyes, Cy dyes, and ATTO dyes, each offering distinct spectral properties and robust performance. For live-cell imaging, we prioritize cell-permeable dyes, genetically encoded fluorescent proteins (e.g., GFP, mCherry), or antibodies conjugated via click chemistry, minimizing cellular stress and preserving physiological functions. We perform antibody titrations to determine optimal concentrations, typically ranging from 1:100 to 1:1000 for primaries and 1:200 to 1:2000 for secondaries, ensuring maximal specific binding with minimal background. This rigorous approach to staining and fluorophore selection is how we engineer molecular clarity into our images, transforming invisible cellular components into luminous beacons of biological insight.
Mounting Media & Environmental Control: Safeguarding Signal Integrity
The final crucial step in preparing samples for fluorescence microscopy involves mounting the specimen. The choice of mounting media significantly impacts image quality, refractive index matching, and long-term preservation. We distinguish between aqueous and non-aqueous (resin-based) media. Aqueous mounting media are essential for live cells or samples where dehydration is detrimental, maintaining their hydration and viability. Non-aqueous media, often hardening over time, provide superior refractive index matching with glass (typically RI ≈ 1.515), crucial for high-resolution imaging with oil immersion objectives. We carefully match the refractive index of our mounting medium to that of our immersion oil and objective lens for optimal light transmission and minimal spherical aberration, which can otherwise degrade image quality.
A non-negotiable component of mounting media, especially for fixed samples, is the inclusion of antifade reagents. Fluorophores are notoriously susceptible to photobleaching—irreversible photochemical destruction—upon excitation. Antifades, such as DABCO, n-propyl gallate, or commercially available blends (e.g., ProLong Gold, Vectashield), chemically scavenge reactive oxygen species, dramatically extending fluorophore longevity and enabling prolonged imaging sessions. We apply mounting media carefully, avoiding air bubbles which can cause light scattering and hinder imaging. For fixed samples, we secure the coverslip to the slide using nail polish or specialized sealants, preventing dehydration and protecting the sample from external contaminants. For live-cell imaging, environmental control is paramount. We maintain precise temperature, CO₂ levels, and humidity using specialized incubators or stage-top environmental chambers, ensuring physiological conditions and minimal cellular stress throughout the imaging experiment. This holistic approach safeguards the integrity of our precious fluorescent signals, allowing us to capture dynamic biological events with clarity and precision over extended periods.
Navigating Advanced Challenges: Troubleshooting & Optimizing for High-Impact Data
Even with meticulous protocols, challenges inevitably arise in fluorescence sample preparation. We must adopt a proactive troubleshooting mindset, transforming obstacles into opportunities for optimization. A prevalent issue is autofluorescence, the intrinsic fluorescence of cellular components (e.g., NADH, flavins, lipofuscin) that can obscure specific signals. We combat this by using autofluorescence-reducing reagents (e.g., Sudan Black B), adjusting excitation/emission filters, or selecting fluorophores with emission spectra far removed from common autofluorescence wavelengths. Another critical concern is photobleaching; while antifades mitigate it, judicious control of excitation light intensity and exposure duration is essential, particularly during live-cell imaging or when acquiring Z-stacks.
For complex tissues or 3D samples, achieving uniform reagent penetration and signal detection can be difficult. Here, we explore advanced techniques like tissue clearing methods (e.g., CLARITY, iDISCO, Scale). These methods render tissues transparent, enabling deep imaging of intact structures and reducing light scattering, pushing the boundaries of what is observable. Quality control checkpoints are integrated throughout the workflow: we run negative controls (omitting primary or secondary antibodies) to assess non-specific binding, positive controls to confirm antibody efficacy, and test reagent batches consistently. Common pitfalls include incomplete washing steps leading to high background, overly aggressive permeabilization causing structural damage, or improper storage of reagents diminishing their activity. By systematically addressing these issues, meticulously optimizing each parameter, and embracing innovative strategies, we transition from merely acquiring images to generating high-impact, quantitative fluorescence data, truly unlocking the potential of our biological investigations.
Key Takeaways
Sample Preparation: A Cornerstone of Fluorescence Microscopy
The quality of fluorescence microscopy images is directly correlated to the rigor of sample preparation. We must navigate between preserving morphology and molecular integrity, while optimizing fluorophore access and retention.
- Fixation: The choice between chemical fixatives (paraformaldehyde for structure, methanol for cytoskeleton) and physical ones (cryofixation for ultrastructure) is crucial. We must optimize concentration and time to preserve antigenicity and minimize artifacts.
- Permeabilization and Blocking: Detergents like Triton X-100 or Saponin create pores for access to intracellular targets. Blocking with BSA or serum drastically reduces non-specific binding, maximizing the signal-to-noise ratio.
- Immunolabeling and Fluorophores: Indirect staining amplifies the signal. Fluorophore selection is based on photostability, brightness, and avoiding spectral overlap for multiplexing. Antibody titration is essential for optimal specificity.
- Mounting Media and Environmental Control: The mounting medium must match the refractive index and include anti-photobleaching agents to protect fluorophores. Strict environmental control is vital for live-cell imaging.
- Managing Challenges: Autofluorescence and photobleaching are common challenges. Advanced techniques like tissue clearing and rigorous quality control are indispensable for obtaining high-fidelity data.
FAQ
-
Why is fixation so crucial in fluorescence microscopy?
Fixation is essential to halt cellular processes, preserve cell and tissue morphology, and immobilize proteins. Without adequate fixation, structures would degrade, proteins would move, and antigens would be inaccessible for labeling, rendering imaging inefficient or misleading. Proper fixation ensures that the captured image accurately reflects the biological state at the time of fixation. -
What are the main trade-offs between direct and indirect staining?
Direct labeling is faster and less complex, reducing protocol steps and the risk of secondary antibody non-specific binding. However, it is less sensitive due to an unamplified signal and offers less flexibility for multiplexing if primary antibodies are not available with various fluorescent conjugations. Indirect labeling offers increased sensitivity through signal amplification (multiple secondary antibodies binding to a single primary) and greater flexibility for multiplexing, but it is longer and has a slightly higher risk of background noise due to the extra secondary antibody step. -
How can I reduce autofluorescence in my samples?
To reduce autofluorescence, we can adopt several strategies: use quenching reagents such as Sudan Black B after staining, choose fluorophores whose emission spectrum is far from the autofluorescence peaks of the tissues (generally in the far-red or infrared), optimize imaging parameters (e.g., adjust detector gain and exposure time), and use unstained sample controls to evaluate and subtract background autofluorescence. For tissues, mild chemical bleaching or perfusion before fixation can also help.